Windows 10 - 100% disk usage ! Problem Solved.
- Razvan N.
- Feb 13, 2018
- 5 min read

Updated: Feb 17, 2018
Solving Windows 10 problems related to disk usage.

There are some laptops or desktops machines that won't need all the fixes detailed below, try them one at a time and after each step verify you're Disk Usage via
Task Manager - Processes tab.
How to open Task Manager:
A - press CTRL + ALT + DEL at the same time on your keyboard and choose Task Manager from the list.
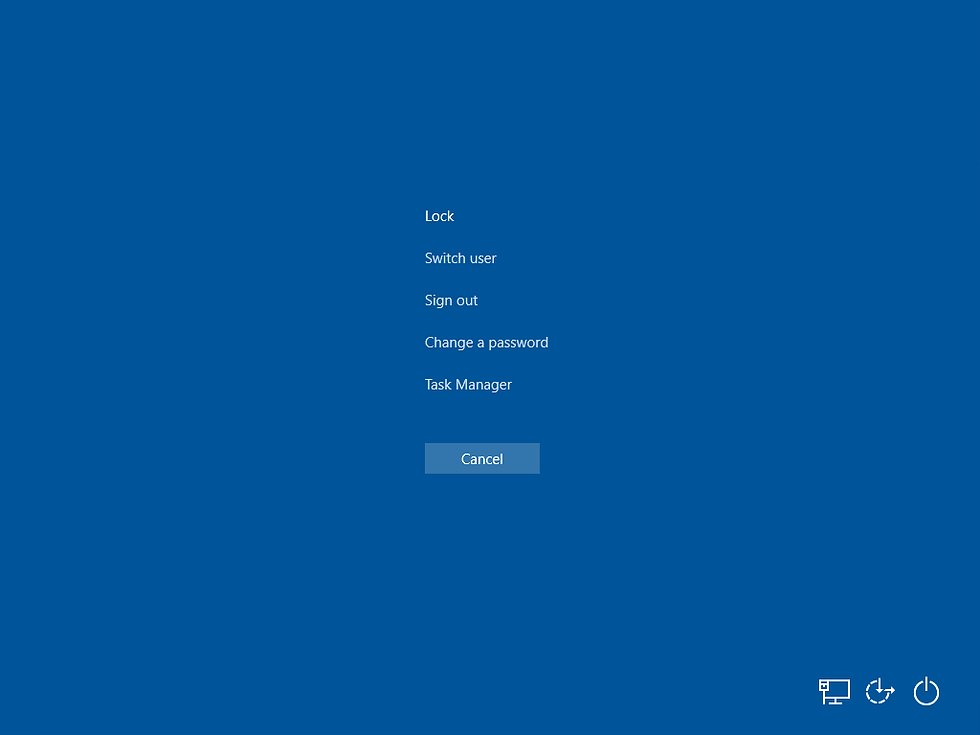
B - press right click on the Taskbar and you have the options there.

1: Disable or uninstall any pre-installed Antivirus software.
2: Laptops - Power Options (battery).
3: Check Windows Version than update or reroll to a previous version.
4: Update device drivers.
5: Disable Windows Search. 6: Disable SuperFetch Service.
7: Reset Virtual Memory.
1 - Most PC come with a pre-installed Antivirus software with a licence for 30 days, it's not usually the best and more than sure it's just a beta version of the software, which means that you can download it for free from their official website.
Usually you have the option to disable temporarily your Antivirus software but I would recommend to uninstall the software and restart your PC. Next to your Windows Logo you will find the Search bar where you type :'Add or remove programs'.

After you opened you will be in Settings - Apps & features.( can be opened by pressing right click on the Windows logo then Settings - Apps & features)

In the list below you will have most of the Applications that are installed on your PC, search for the unwanted Antivirus Software click on it and choose uninstall.
(Some Antivirus Softwares may require 1 or 2 more restarts, just follow the steps) After uninstalling process verify if the problem still persists.
2 - By default your laptop will come with the ("Recommended Power option")... in a few words you're laptop will work just fine either is plug in or working with its own battery. This fix helped many people that want better performance from their laptop not only with the disk usage problem.
You can open the Power Option menu by right clicking the battery icon on the right side of the screen at the bottom next to date and time:

or via Control Panel then Hardware & Sound - Power Options

Inside the menu then you choose High Performance, there are many users that reported that after switching to High Performance option the disk started to load normally almost straight away. If you don't have great results straight away just restart your pc and verify with Task manager the disk load.
3 - To check the version of Windows you have to go to the search button and type Run.

After you open the app Run you type in : winver, and press enter.


Now that you know your version of Windows you can go and verify on Microsoft Windows official website if you have the latest version.
This is the link for the easiest way to download the latest version of Windows, it is made by Microsoft. I found the app really useful because my laptop "refused"
to update to the latest version of Windows via the Upload in the menu.
https://support.microsoft.com/en-us/help/4028685/windows-10-get-the-fall-creators-update
.. to verify uploads in Windows 10 this is the pathway:
Settings - Windows Update and then you press update now. You can find the option easier if you type 'Windows Update' in the Search bar.

Some updates you have no control whatsoever and even if you don't intent to update your machine to the latest version of Windows, Windows is automatically programed to update itself during the night, so you might just have the latest version of Windows on your device even though you 'didn't press anything' .
If the new Windows update works alright for you than you don't have to do anything. If after an update your laptop its working slow or laggy than one of the reasons is the update, you can easily roll back to a previous version of Windows.
Settings - Update & Security - Recovery - Go back to the previous version of Windows 10 - press Get started and follow the instructions.
4 - From Windows 7 onwards windows is automatically installing all the drivers that you need for your computer to work and most of the times its doing a good job. If you have a new laptop you can check the drivers via the pre installed app from your manufacturer or go online to the official website of your manufacturer and type the model of your laptop, you can find the model of your laptop on the sticker on the back of your laptop or type 'System information' in the search bar and open the app there you should find all the details that you will need later.

Most laptop manufacturers will have the option on their official website to auto detect your laptop model and find all the drivers that are up to date.
If your drivers are up to date it might solve the Disk Usage problem. After you update them restart your laptop and verify the disk usage with Task manager.
5 & 6 - There are a bunch of reports that some services from Windows 10 are causing the problem regarding Disk Usage 100% load !!
To disable them just follow the next steps:
Open the app - Run ( you can type : Run in the search bar or right click on Windows logo and open the app.

After you opened type : services.msc

You will find in the list - Windows Search only that on your PC probably its Status is set to Running and on mine is Disabled :).
You right click the Service that you want to disable and from the options you press Properties.

after that you STOP the service than press on the Startup type and choose Disable, press Apply and ok and restart your pc .

If after you disabled this service your PC is running well you can stop here, if not you can stop the Superfetch service as well following the steps above.
There are a few more Services that you can safely disable here to make your laptop run faster, you can browse them and read their Description and decide if you will need them or not. You can clearly see that I have a few disabled, I either don't use or I find them useless. After each disable restart your laptop and verify with Task Manager your Disk load !
7 - To reset your virtual memory is always an option. The only ""downside"" is that is gonna use some GB of memory from your hard drive but your laptops overall performance can increase significantly and it could be the option that solves the Disk Usage problem...
Windows Settings than wright 'performance' and than choose Adjust the appearance and performance of Windows.

It will open the Performance Option go to Advanced option and than choose Chance... it will open the page that you see on the right.

You have to uncheck 'Automatically manage paging file size for all drives,
than press on Custom size: and change the Initial size and maximum size in accordance to your memory RAM.
You should calculate like this :
" The minimum and maximum size of the Pagefile can be up to 1.5 times and 4 times of the physical memory that your computer has respectively. For example, if your computer has 1 GB of RAM, the minimum Pagefile size can be 1.5 GB, and the maximum size of the file can be 4 GB. " - 1024 x "your memory ram GB" x 1.5 maximum size, so for 8 gb Ram this should be the calculation :
1024 x 8 x 1.5 = 12288 MB
you press set, OK and then restart your pc.


Comments